
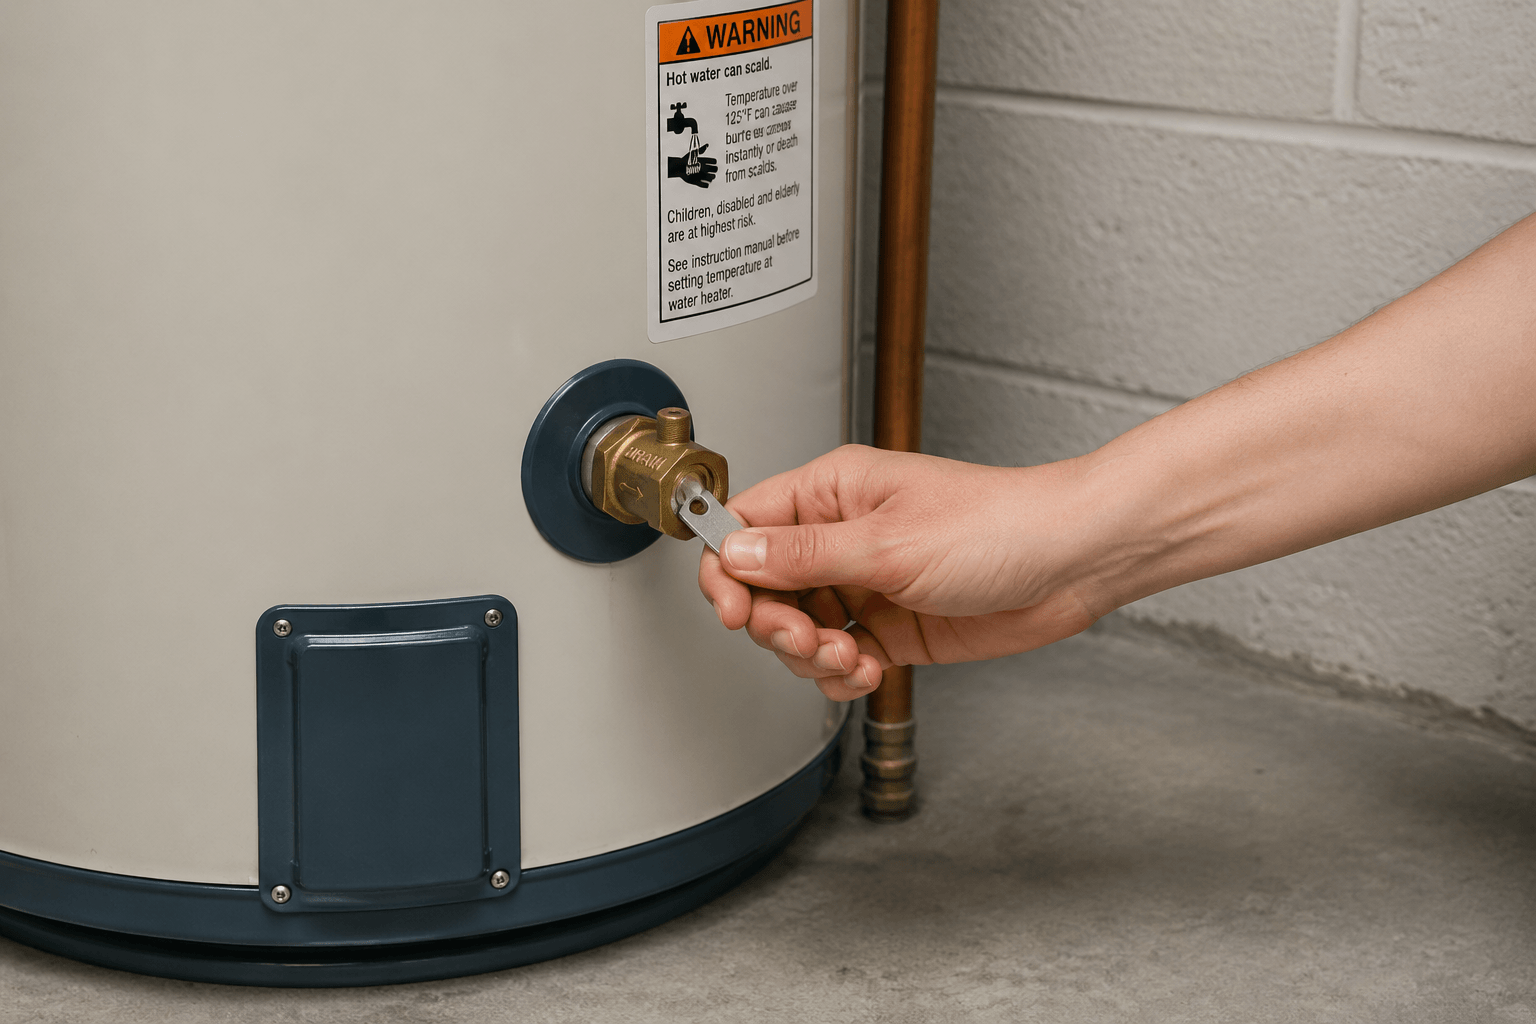
Sediment, mostly calcium and magnesium from hard water, gradually collects at the bottom of a water heater tank over time. Left alone long enough, that buildup forces the heater to work harder, raises energy bills, shortens the appliance’s life, and can eventually cause it to fail entirely.
The fix is simple and something most people can handle themselves. Draining a hot water heater once a year is one of those maintenance tasks that takes under two hours and quietly saves a lot of money down the road.
This guide walks through the whole process: why it matters, what tools are needed, how to actually do it step by step, what to watch out for, and when the situation calls for a professional instead.
Why Draining a Hot Water Heater Actually Matters
Every time water flows into the tank, it carries dissolved minerals with it. The water heats, the minerals separate, and they sink to the bottom. Over months and years, that layer of sediment thickens. As it builds up, homeowners may notice higher utility costs, hot water shortages, clogs in water fixtures, or eventually a complete breakdown of the appliance.
There is also the noise factor. Strange noises coming from a water heater, or a bad smell, can indicate bacteria growing in the sediment at the bottom of the tank. Neither of those things fixes itself.
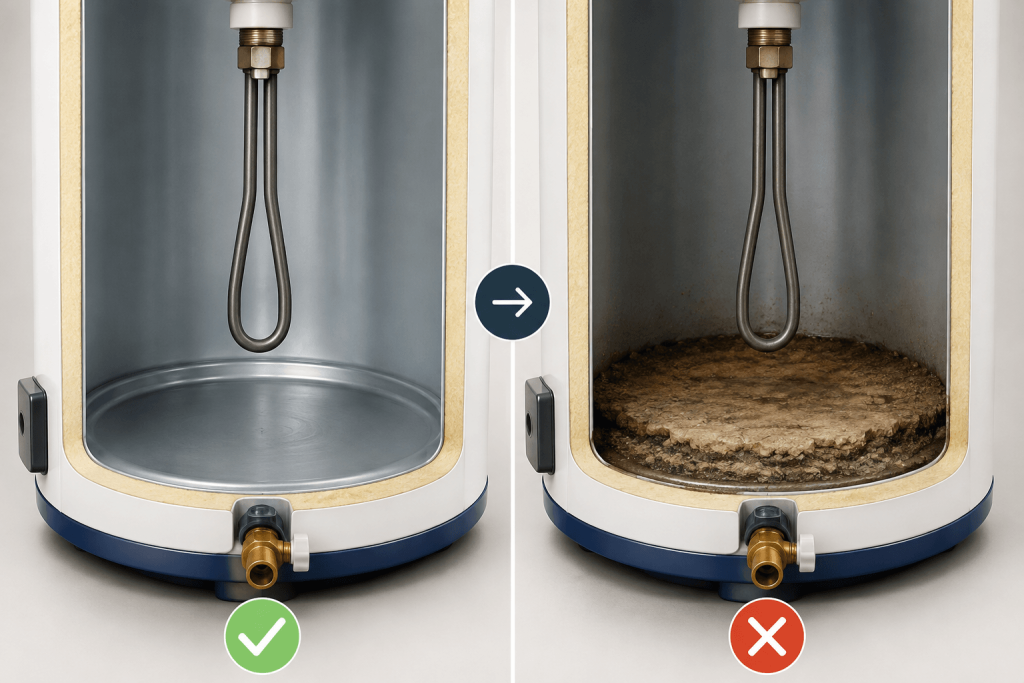
Draining a water heater removes the sediment that leads to these problems, ensures the heater does not work harder than it should, reduces energy consumption, and can help maintain the manufacturer’s warranty.
For most homes, flushing the water heater once every 12 months is recommended. In areas with hard water, every six months is better.
Signs It Is Time to Drain the Tank
Most people only think about their hot water heater when something goes wrong. But there are earlier signals worth knowing:
- Hot water runs out faster than it used to.
- The water coming from hot taps looks slightly cloudy or has a faint odor.
- There are strange noises, like rumbling or popping, coming from the heater.
- Energy bills have crept up without an obvious reason.
- The heater is more than a year old and has never been drained.
Any one of these is a reasonable prompt to schedule a water heater tank drain.
What You Need Before Starting
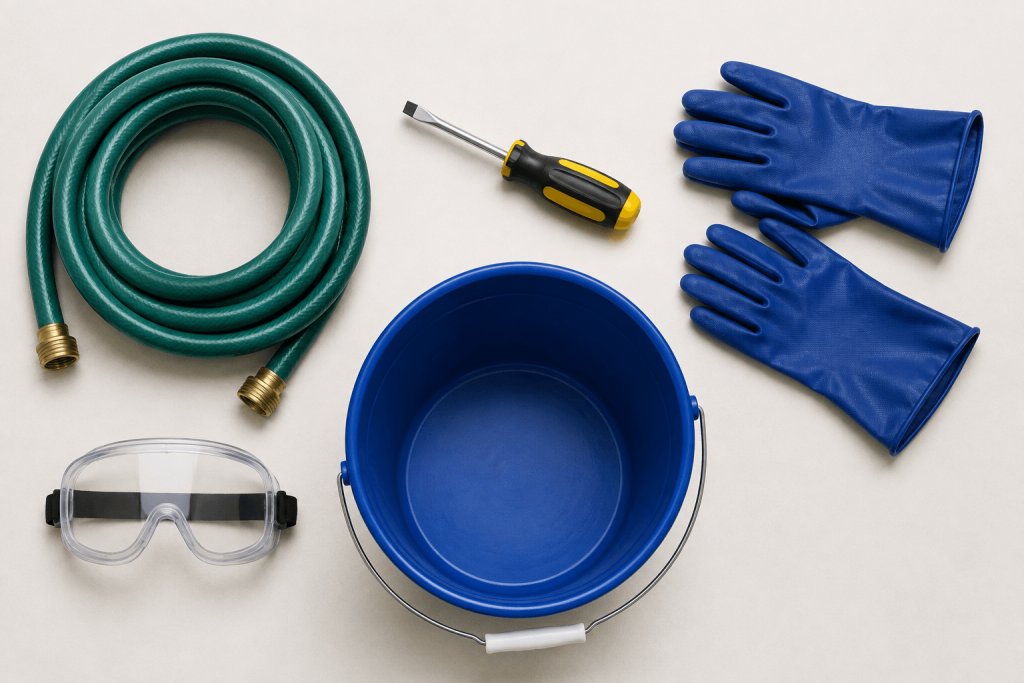
Most of these items are already in the house:
- Garden hose, long enough to reach a floor drain, exterior door, or outdoor area.
- Flathead screwdriver (some drain valves need one to open).
- Heavy-duty rubber gloves.
- Safety goggles.
- Large bucket (useful for checking whether the draining water is running clear).
One practical note: if the water heater is in a basement, a transfer pump may be needed to move water up and out. These can often be rented from home improvement stores.
How to Drain a Hot Water Heater: Step by Step
Step 1: Turn Off the Power or Gas Supply
This is non-negotiable and always comes first. Heating an empty water heater will cause permanent damage, most likely requiring a full replacement.
For an electric water heater, cut power to the circuit at the breaker box. For a gas water heater, turn the control knob to the pilot position.
If there is any uncertainty about which breaker controls the heater, the safest approach is to turn off the main breaker entirely while working.
Step 2: Let the Water Cool
The water in the tank is still quite hot at this stage. If the thermostat is set to the manufacturer’s recommended temperature, the water is likely around 140 degrees Fahrenheit, which is hot enough to cause serious burns.
Waiting one to two hours after shutting off power is the safe approach. For a gas water heater, letting it cool for at least 30 to 45 minutes is recommended. Rushing this step is the most common cause of avoidable injuries during this job.
Step 3: Shut Off the Cold Water Supply
Locate the cold water valve, usually on top of the heater, and turn it clockwise to stop water from flowing in. This prevents the tank from refilling while draining is in progress.
Step 4: Open a Hot Water Faucet
Turn the hot water on full blast at a nearby faucet and let it run. This prevents a vacuum from forming in the water lines, which allows the tank to drain more easily.
If the cold water has been shut off correctly, the tap should release a gush of water followed by a slight trickle. Leave it open throughout the draining process.
Step 5: Attach a Garden Hose to the Drain Valve
The drain valve sits on the front of the heater near the bottom of the unit and has the same threads as a standard outdoor spigot. Attach one end of the garden hose to it and run the other end to a floor drain, outside on a slope, or into a bucket.
Lay towels or plastic sheeting around the base of the tank in case of drips, and make sure the hose connection is secure before opening the valve.
Step 6: Open the Drain Valve
Most water heaters have manual-open drain valves, but a flathead screwdriver may be needed if the valve does not open by hand.
Open it slowly. Hot water and sediment will begin flowing through the hose. This process may take 10 to 30 minutes, depending on the size of the tank and the amount of sediment buildup.
Step 7: Flush Out Remaining Sediment
Once the tank is mostly empty, the job is not quite done yet. Turn the cold water supply valve back on briefly. This stirs up any remaining sediment at the bottom of the tank and flushes it out through the hose.
When the water flowing from the hose runs clear and free of sediment, shut off the cold water supply valve again. This flush step is what most people skip, and it makes a meaningful difference in how clean the tank ends up.
Step 8: Refill the Tank and Restore Power
Close the drain valve, remove the hose, and open the cold water supply valve to let the tank refill. When water flows steadily from the hot water tap that was opened earlier, the tank is full. Turn that tap off.
Now restore power. For electric heaters, switch the breaker back on. For gas models, return the thermostat to its normal setting.
Wait about an hour before testing the hot water. The tank needs time to heat a full supply.
How to Drain a Hot Water Heater Quickly: Is It Safe?
Searching for how to drain a hot water heater quickly is understandable, but there are two steps that genuinely cannot be rushed: letting the water cool and letting the tank drain at its own pace. Forcing the drain valve fully open while the water is still at 140 degrees is a burn risk. And if sediment has built up heavily, rushing the flush means most of it stays in the tank.
The parts that can be sped up are the prep steps: having the hose ready in advance, knowing where the breaker is before starting, and running the hot tap first so pressure releases immediately when the drain valve opens. With good preparation, the whole job typically takes 45 minutes to an hour and a half from start to finish.
What If the Drain Valve Will Not Open?
This happens with tanks that have not been drained in years. Sediment can pack around the valve and make it stiff or completely stuck.
A flathead screwdriver applied gently to the valve slot is the first thing to try. If it still will not budge, do not force it. A worn or stuck drain valve that gets forced can crack, which turns a maintenance job into an emergency repair. At that point, a licensed plumber is the right call.
The same applies if the valve opens but barely anything drains out. A heavily sediment-packed drain port is not a DIY fix.
When to Call a Professional Instead
Draining a water heater is genuinely manageable for most homeowners. But a few situations should prompt a call rather than a DIY attempt:
- The drain valve is stuck, stripped, or leaking at the connection point.
- The tank is making sounds even after being fully drained and refilled.
- Water coming out is rust-colored rather than just slightly murky.
- The heater is more than 10 to 15 years old and showing signs of corrosion.
- There is any sign of a leak around the tank body itself, not just the valve.
A rust-colored drain is particularly worth paying attention to. It can mean the interior of the tank is corroding, which no amount of draining will fix. At that stage, the more useful conversation is about water heater replacement rather than maintenance.
At Sketchley and Mason, water heater services cover everything from routine maintenance support to full replacements. If the tank is showing any of the signs above and there is any doubt about what to do next, a call gets a straight answer.
The team has been handling exactly these situations in Simi Valley since 1921, and the same 24/7 availability that covers drain emergencies applies to water heater issues too. For anything drain-related that comes up alongside a water heater job, the drain services page covers what is available there as well.
Frequently Asked Questions About Draining a Hot Water Heater
Once a year works for most homes. In areas with hard water, every six months is more appropriate. Checking the manufacturer's manual is also worthwhile, as some brands recommend a specific maintenance schedule.
Yes, always. Running a heating element or gas burner in an empty tank causes permanent damage and will likely require a full replacement. Cutting power or gas is always the first step, not an optional one.
Typically 10 to 30 minutes for the tank to empty, depending on its size and how much sediment has built up. Add prep and refill time and the whole job usually runs between one and two hours.
Sometimes, yes. If sediment has built up heavily enough to insulate the heating element from the water, the heater struggles to reach temperature. Draining and flushing can restore normal performance in those cases. If the problem persists after a full drain and refill, the issue is likely with the heating element or thermostat rather than sediment.
Keep flushing. Run the cold supply into the tank and let it drain until the outflow runs fully clear. If the water stays discolored after several flushes, it may indicate interior tank corrosion, which warrants a professional inspection.
Draining empties the tank. Flushing goes one step further by running fresh cold water through the tank after draining to push out any remaining sediment. A proper maintenance job should include both steps, not just one.